Soft & Shiny Sourdough Potato Buns (Perfect for Smash Burgers)

“Who would have known the magic ingredient for burger buns is... boiled potatos”
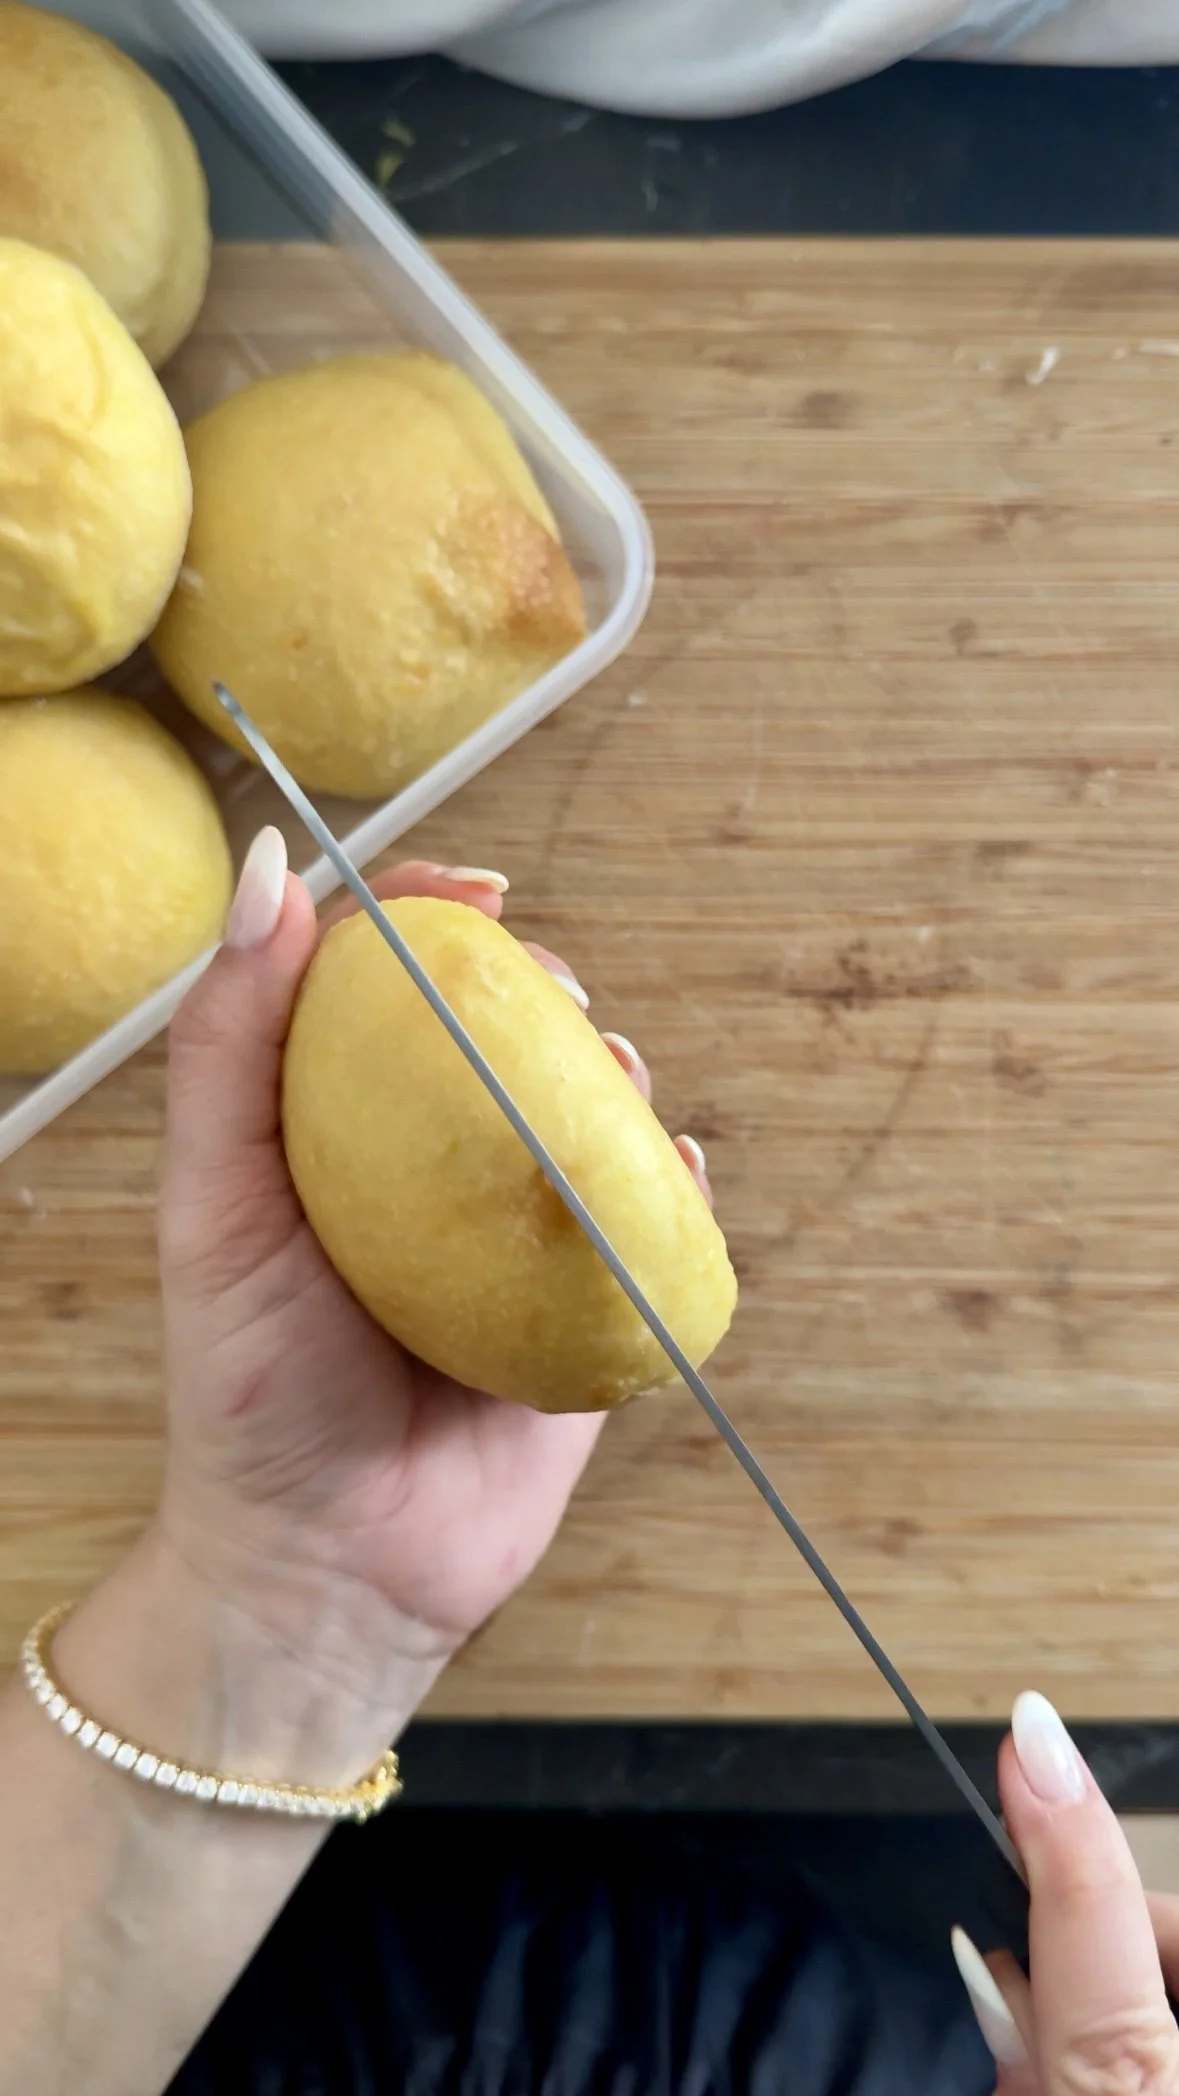
theses are the buns
The kind that make people pause mid-bite and ask,
“Wait… did you make these?”
Soft, shiny, lightly chewy, and built to survive a juicy smash burger without falling apart — these sourdough potato buns are my go-to for dinner parties, weekend hosting, and anytime burgers are involved.
Why You’ll Love This Recipe
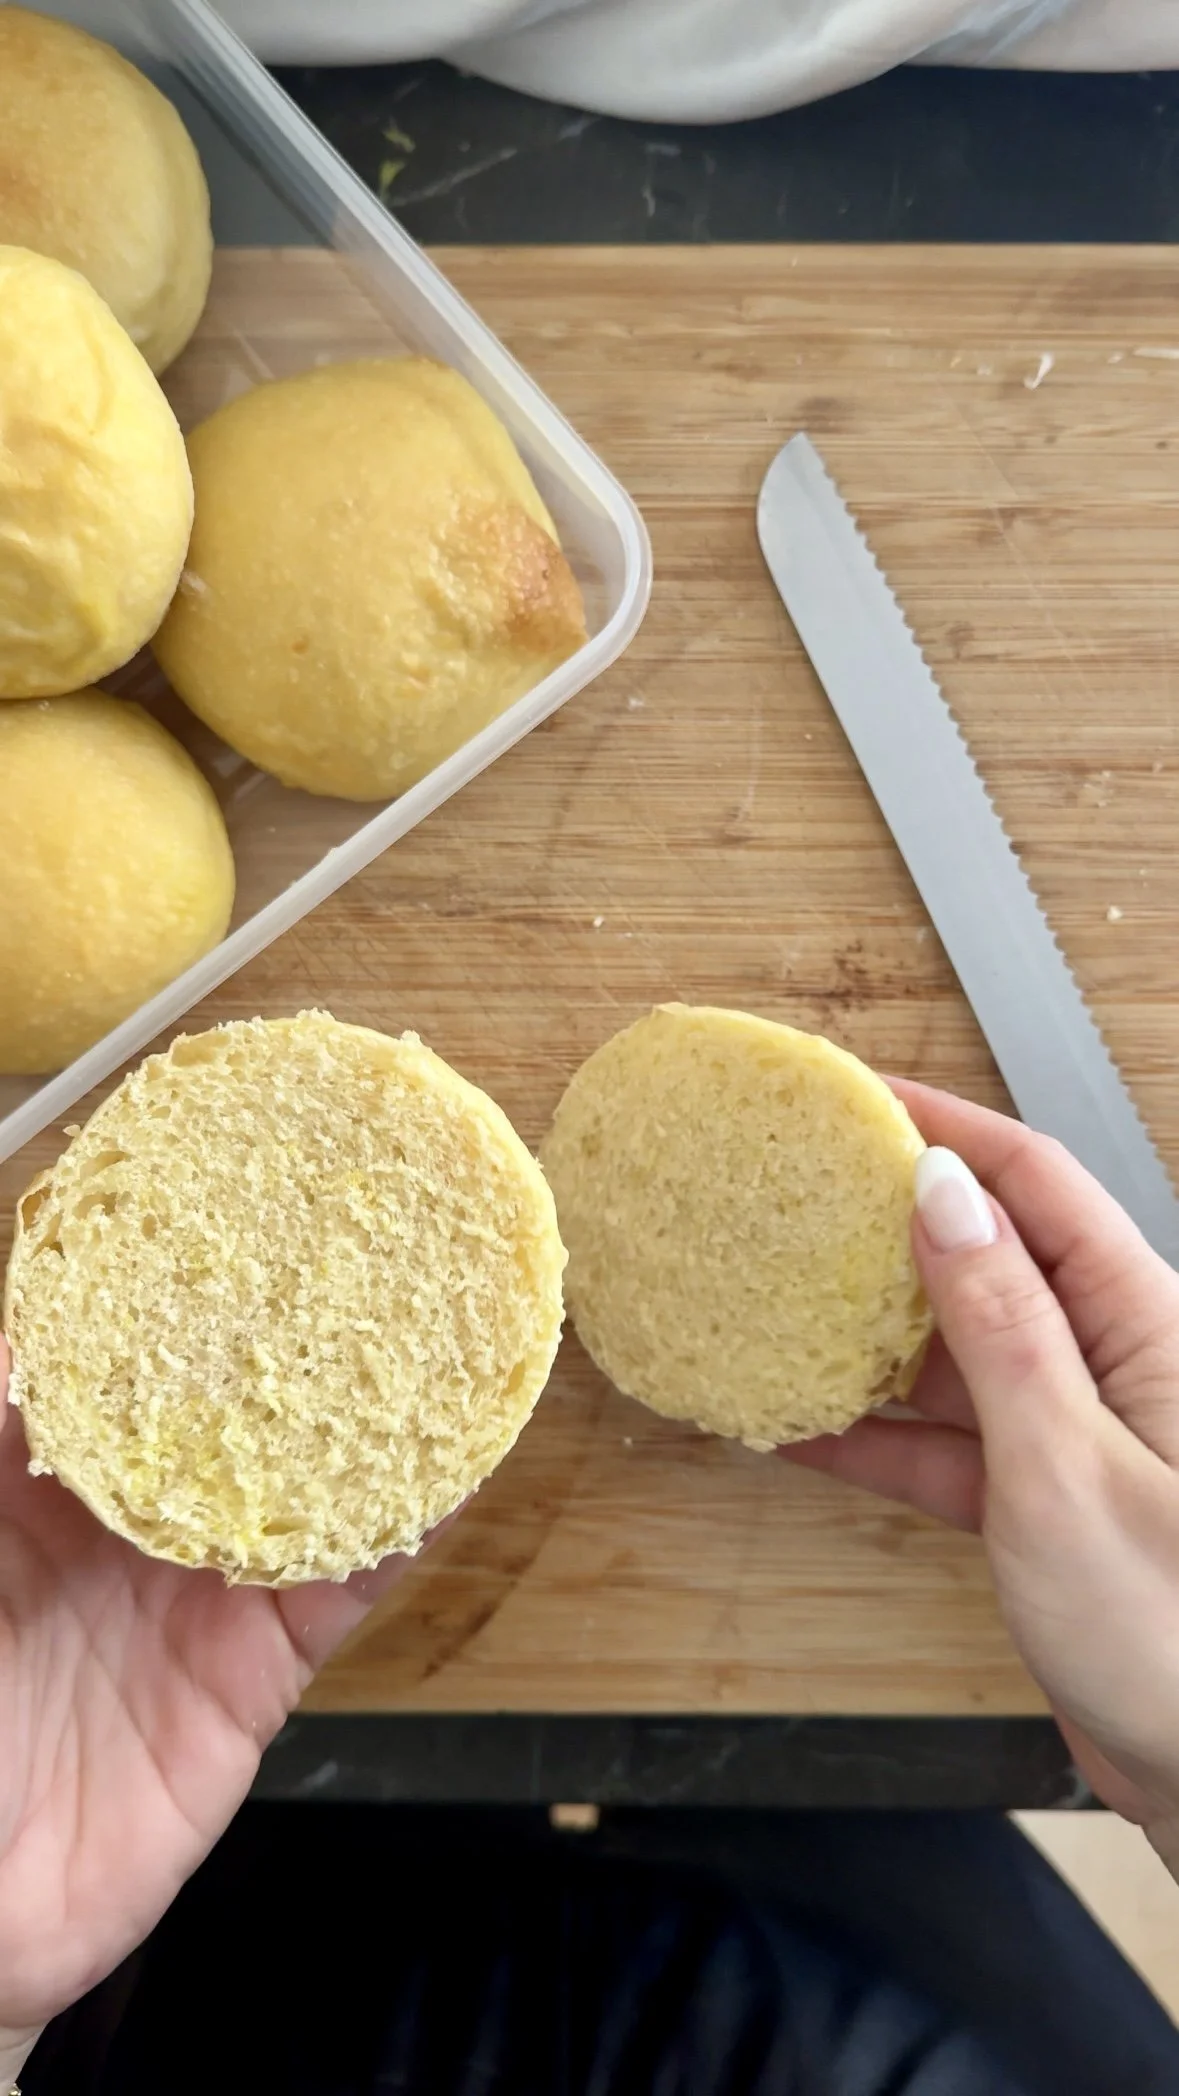
Pillow-soft crumb with real structure (no soggy bottoms)
Shiny, bakery-style tops that look professionally made
Mild sourdough flavor — complex but not aggressively tangy
Designed specifically for smash burgers
Make-ahead + freezer-friendly
Scales beautifully for dinner parties


The Flavor Logic
Salt: Enough to taste like a bun, not a dinner roll
Fat: Butter + egg create tenderness and sheen
Sweet: Honey helps browning and classic burger-bun flavor
Umami: Potato adds savory depth and keeps the crumb soft longer
Acid: Sourdough adds quiet complexity (yeast keeps timing predictable)
Final taste test:
The bun should taste lightly sweet, buttery, and savory — never bland.
If it tastes flat, it needs either more salt next time or better toasting before serving.
Timeline - at a glance
Sourdough Potato Buns — Planning Guide
Yield: 8 medium burger buns or 6 Large (ideal for 6 guests + extras)
Active time: 30–40 minutes
Fermentation / proofing:
Same-day: ~4-10 hours
Overnight: up to 24 hours (cold proof)
Bake time: 18–20 minutes
Total time:
Plan A (Same-day): ~4-10 hours
Plan B (Overnight): ~30-36 hours (mostly hands-off)
Make-ahead friendly? Yes — excellent
Best served: Day-of or next day (toasted)
Schedule options
Plan A (Same-day):
Mix → Bulk rise 4-10h → Shape → Proof 45–90 min → BakePlan B (Overnight):
Mix → Bulk rise 4-10h → Shape → Short room-temp rest → Fridge 10–24h → Bake next day
Key checkpoints
Bulk ends at ~60–80% rise (puffy, not doubled)
Proof passes poke test (slow spring-back)
Bake to deep golden (internal temp ~93–95°C)
Ingredients (for 8 medium buns or 6 Large)
Dough
350 g bread flour
100 g mashed potato (boiled, drained, very smooth)
80 g sourdough starter (active, 100% hydration)
70–85 g warm potato cooking water or water
20 g honey
1 large egg (~50 g, without shell)
45 g unsalted butter, softened
7 g fine sea salt
Egg Wash
1 Egg
1 tsp Water
Optional Toppings
Sesame seeds, everything seasoning, poppy seeds
Flaky salt
Equipment You’ll Need
Stand mixer with dough hook
Digital scale (highly recommended)
Baking sheet + parchment
Pastry brush
Good to know:
For cold proofing, avoid rigid lids that press on the dough — height matters. Use a plastic bag if your scared the lid will press on them.
How to Make It
1) Prep the Potato
Boil the potato until very tender. Drain, reserve the cooking water, then mash until completely smooth.
Why it matters: Lumps = uneven crumb.
Look for: Silky mash, no chunks.
Common mistake: Watery mash → weigh after draining.
Timing: 10–15 minutes.
2) Mix the Dough
In the mixer bowl, combine flour, potato, sourdough starter, honey, egg, salt, and 70 g warm potato water.
Mix on low until shaggy. Rest 10 minutes.
Why: Hydration + gluten start without stress.
Look for: Rough, slightly sticky dough.
If it happens: Very dry dough → don’t panic, water comes later.
3) Knead + Develop Gluten
Once rested, Knead on medium-low 6–8 minutes until smoother dough forms.
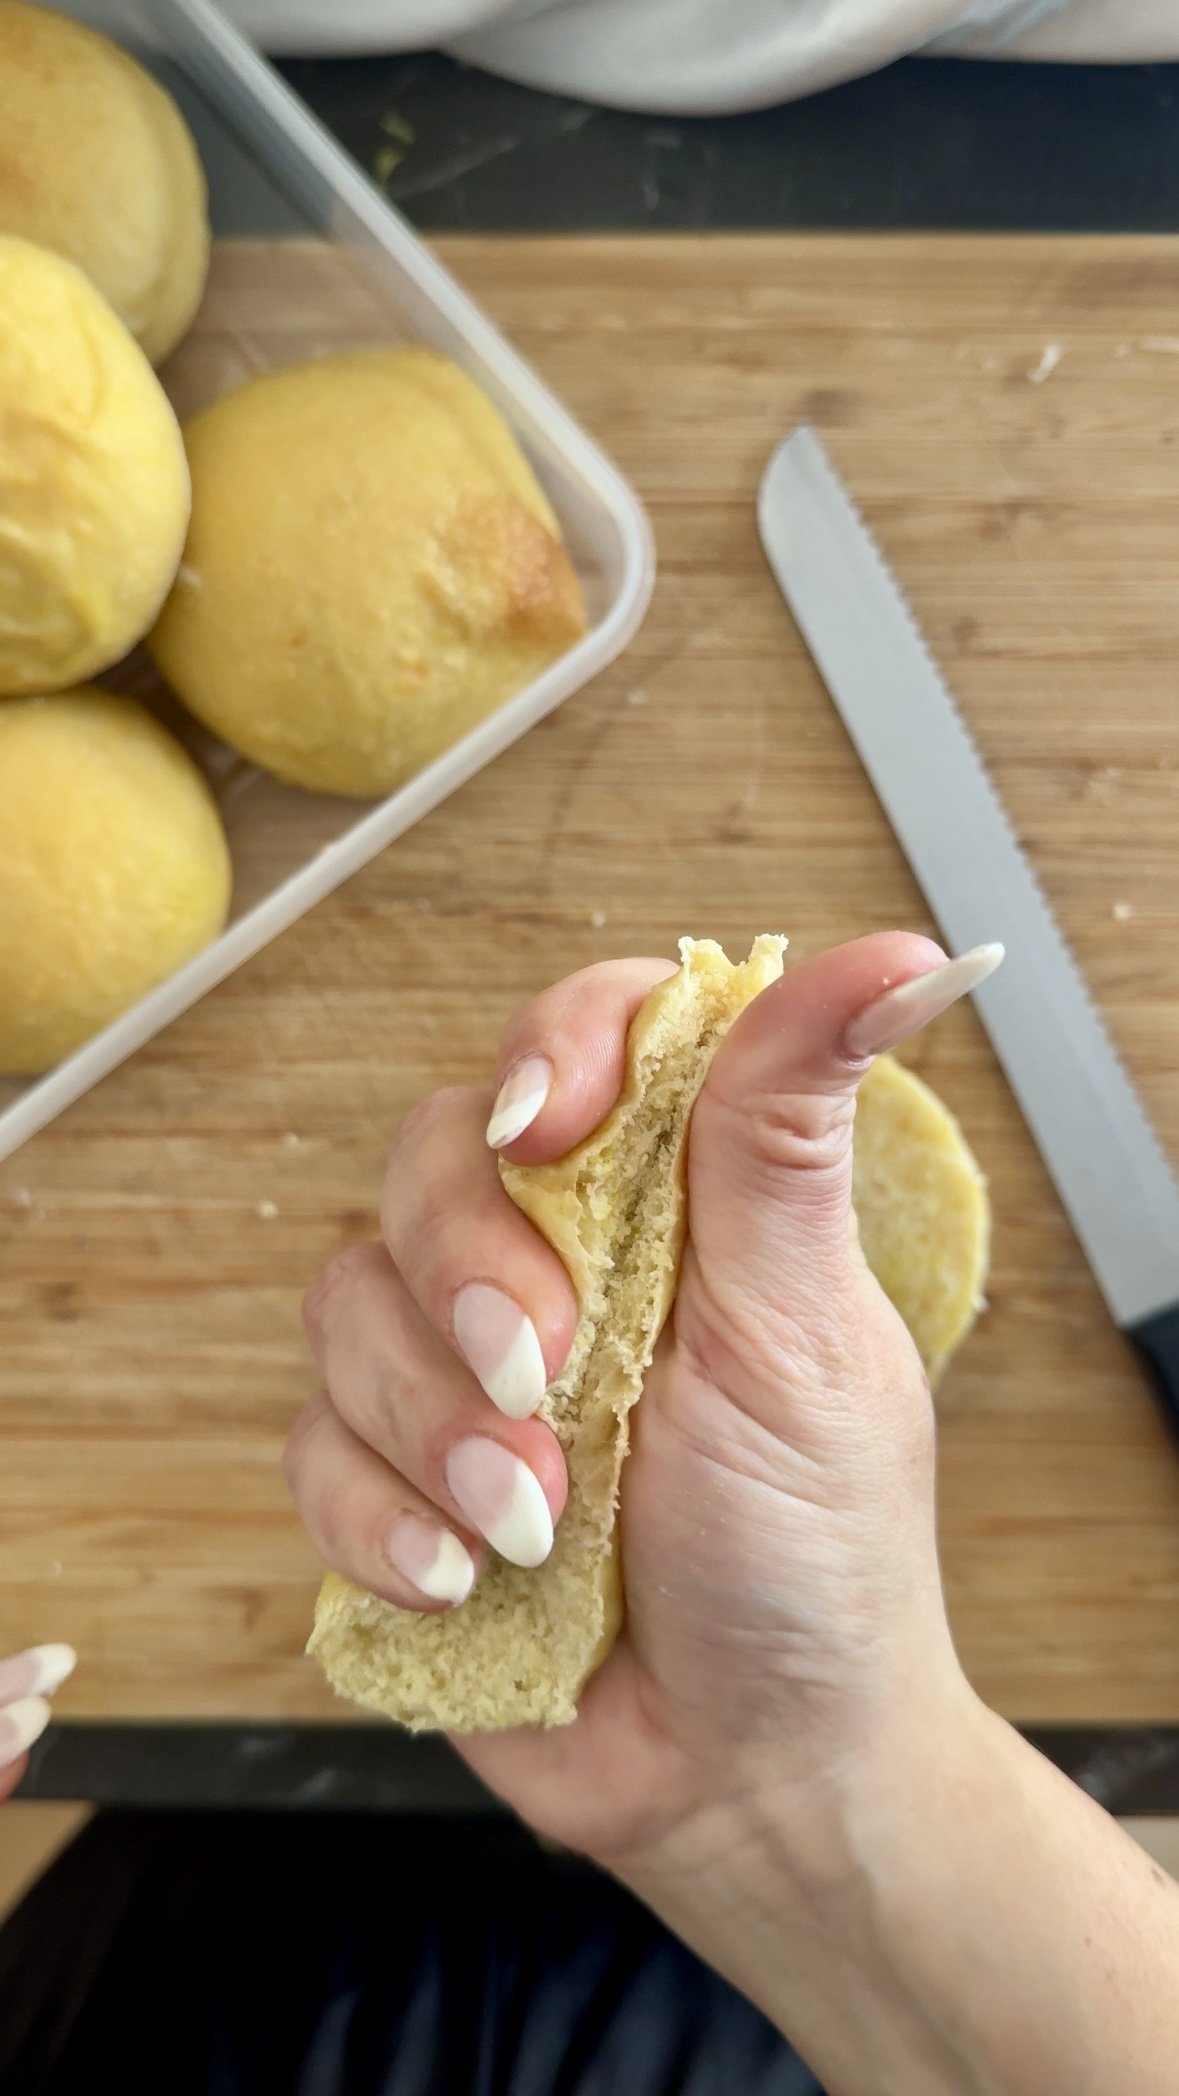
Gluten checkpoint: Dough should stretch before tearing.
Common mistake: Rushing this stage.
4) Add Butter Gradually
Add softened butter in stages. Make sure each piece of butter is fully incorporated into your dough before adding the next one.
Knead a further 6–10 minutes on medium-low until elastic and glossy.
Look for: Dough pulling from bowl, soft but not sloppy.
Windowpane: It should stretch thin without ripping immediately.
If sticky: Chill 10 minutes, then continue (this helps the butter firm up)
5) Bulk Fermentation
Cover and rise at room temp until puffy and ~60–80% larger. Your dough should not double in size at this stage.
Fermentation checkpoint: Rounded edges, airy feel.
Timing: 4-10 hours (longer if cool, shorter if warm).
Starter note: Weak starter = slower rise.
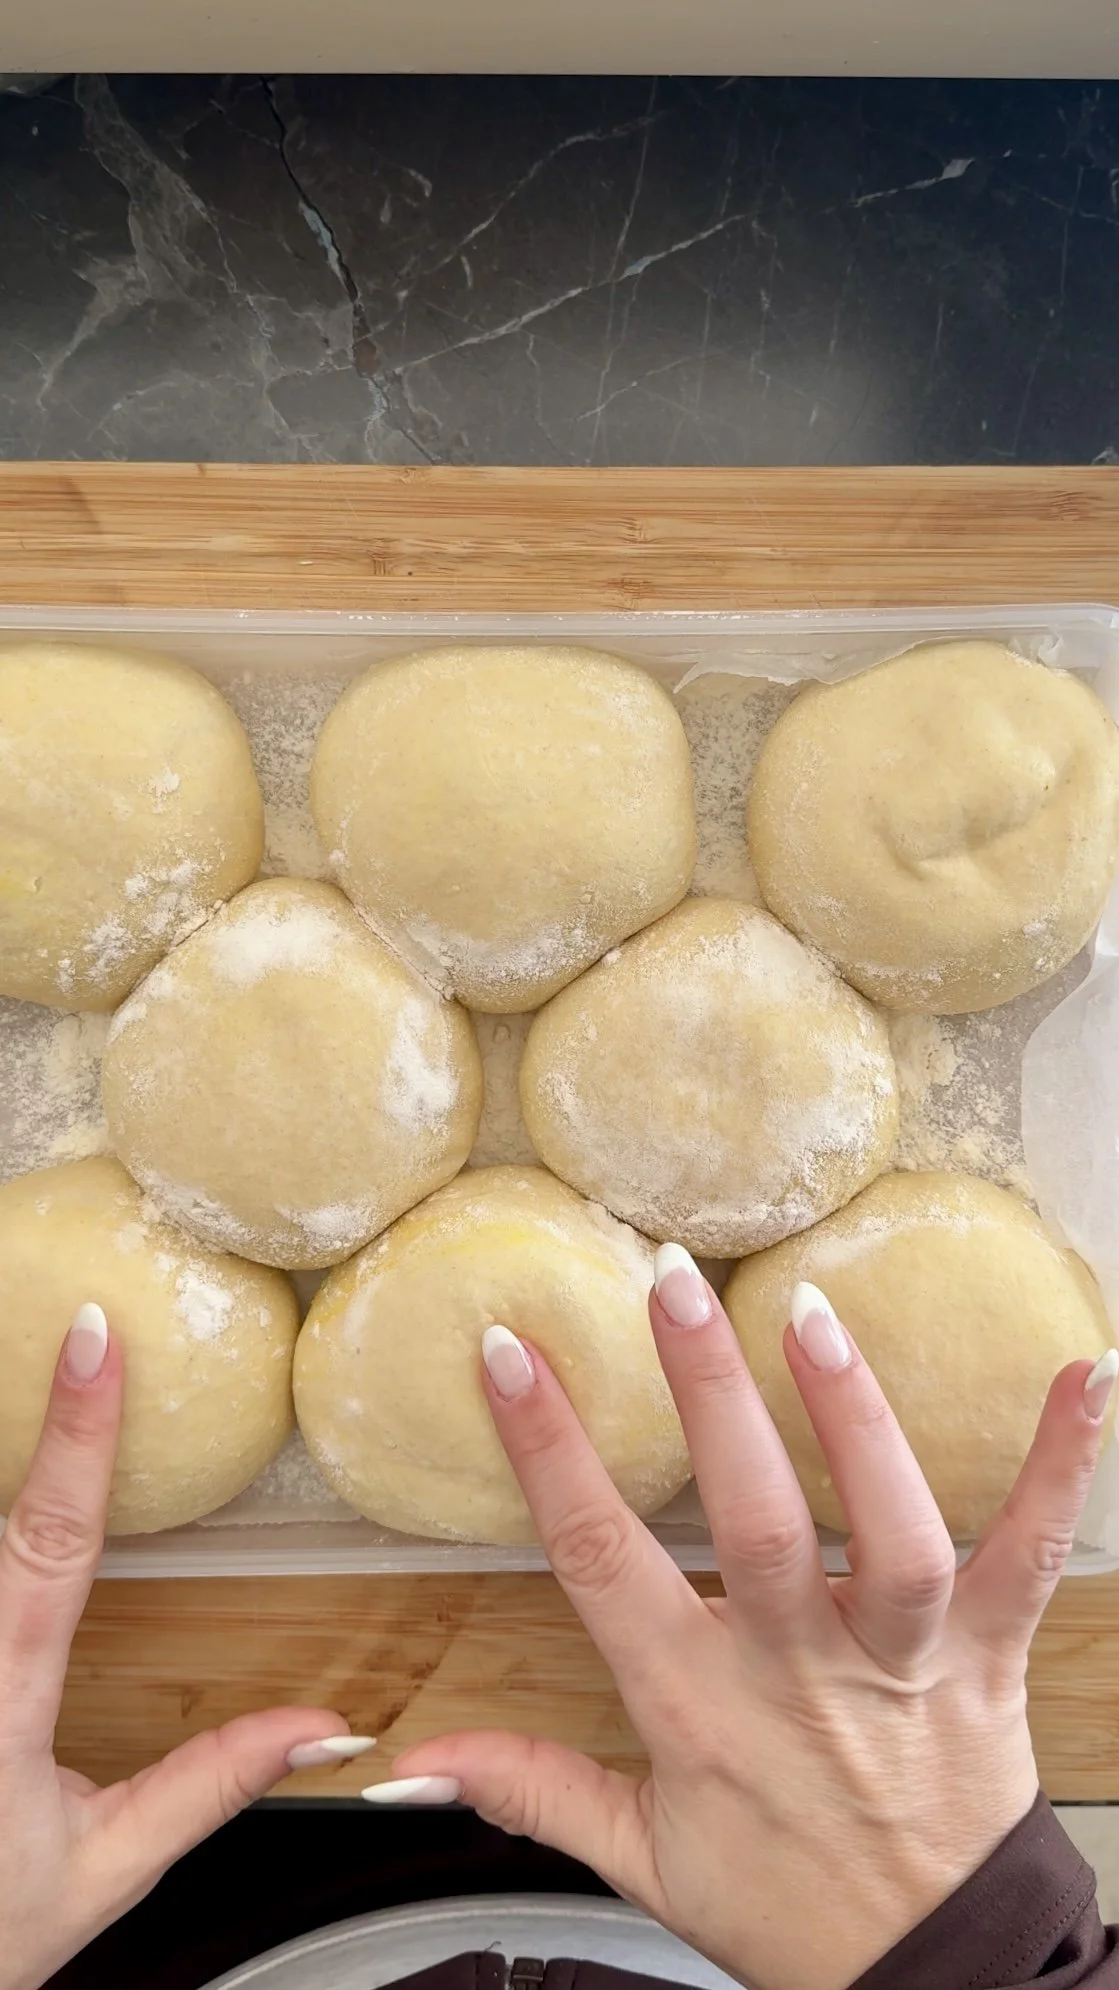
6) Divide + Shape
Divide into 8 equal pieces (or 6 for larger buns). Pre-shape, rest 10 minutes, then shape into tight balls.
Make sure you drag your little buns across a flat surface to create tight balls and tension. then Flatten the tops slightly.
Shaping checkpoint: Smooth surface, good tension.
Common mistake: Loose shaping → flat buns.
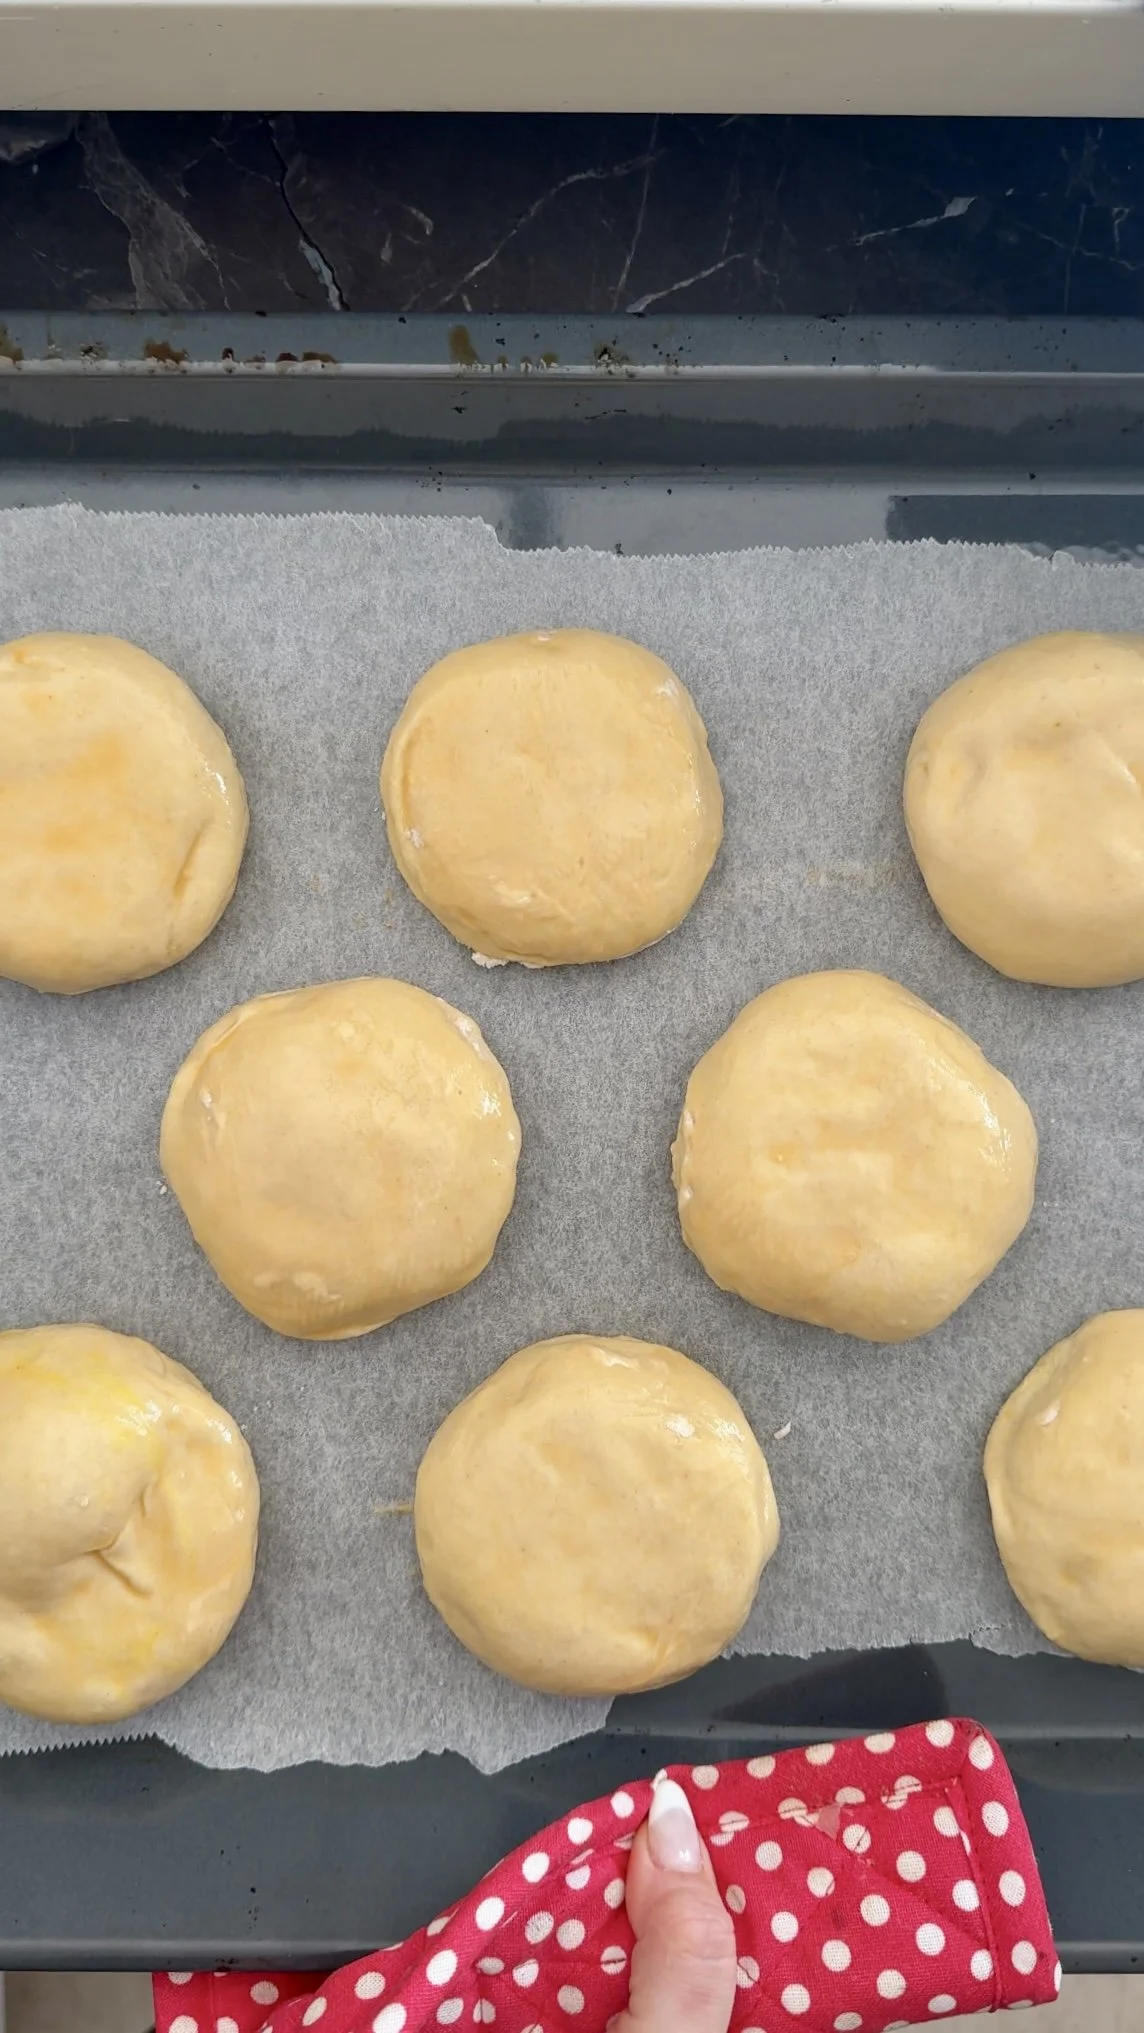
7) Final Proof
Proof until very puffy and slow to spring back when poked.
Proofing checkpoint: Dent fills slowly, not instantly.
Timing: 45–90 minutes.
Cold-proof option:
If you don’t plan on baking same day, after shaping, rest only 10-20 min at room temp, then refrigerate 10–24 hours.
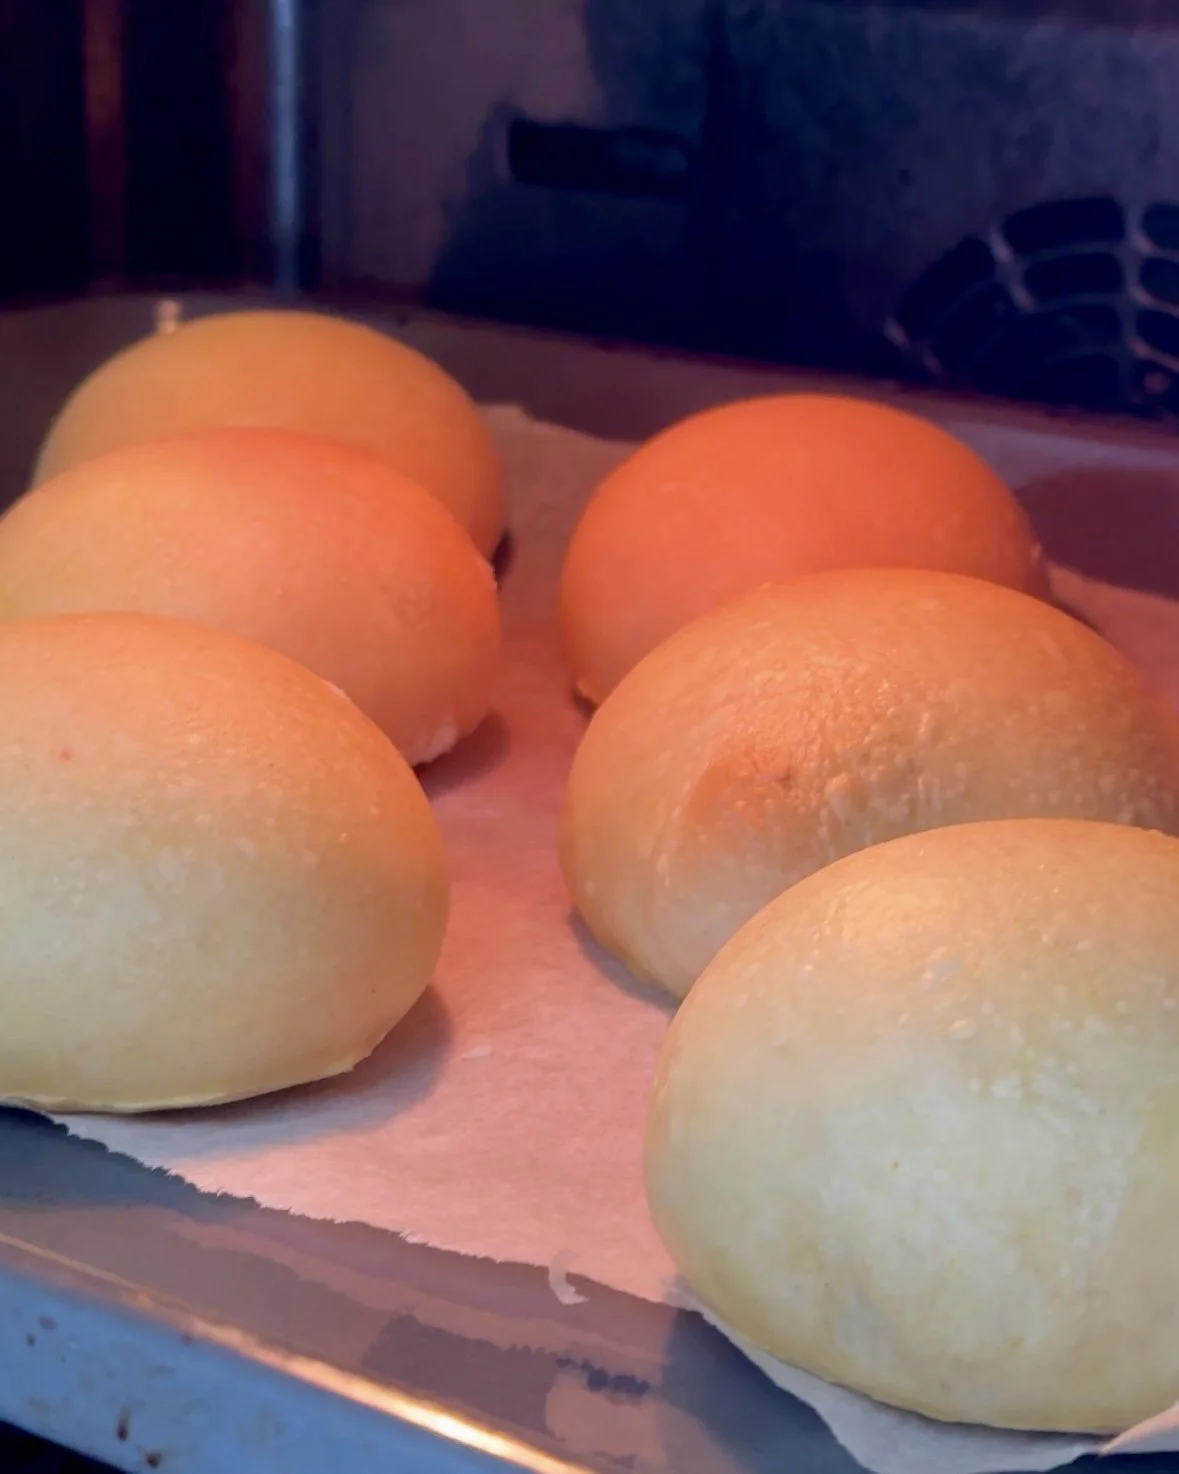
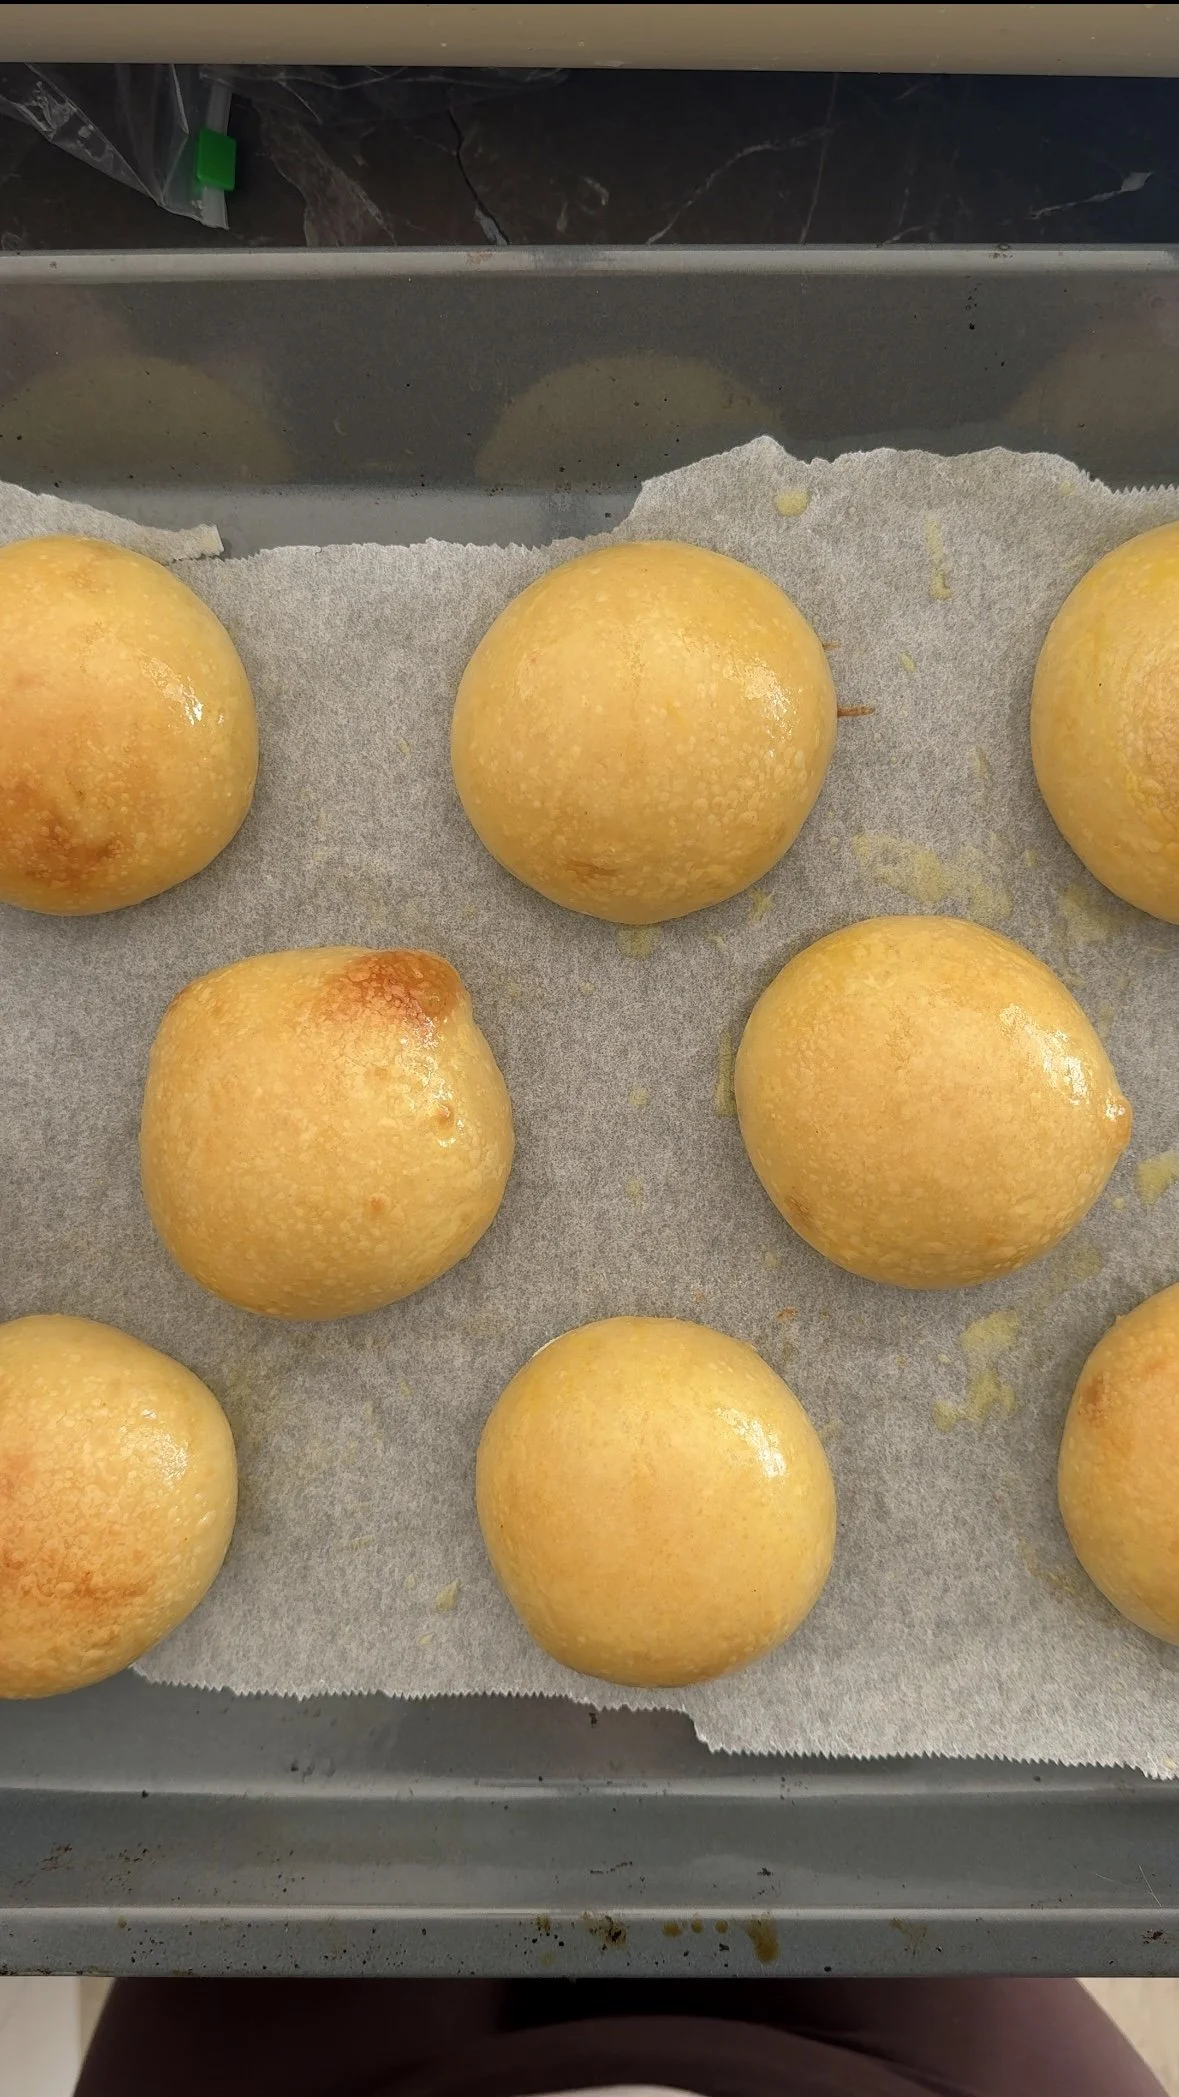
8) Bake
Bake at 190°C (180°C fan) for 18–20 minutes until deep golden.
Your oven should be pre-heated well and you can optionally spray the oven with some water as soon as you add your buns in to create steam.
This helps with the initial rise.
Bake cue: Rich color, light hollow sound when tapped.
Internal temp: ~93–95°C if using thermometer.
Brush with butter immediately. Cool 45 minutes before slicing.
Cold-proof option:
If your buns were cold proofing in the fridge, remove from fridge and check for puffiness. If Nice and puffy bake immediately from Fridge.
In case they don’t look puffy, let proof in your counter for 30 - 60 Minutes before baking.
Tips & Troubleshooting
-
Under-proofed → Let proof longer → Watch poke test next time
-
Weak shaping or too wet → Tighten tension → Hold back water initially
-
Under-proofed → Extend final proof → Be patient
-
Over-proofed → Bake straight from fridge → Reduce bulk ferment next time
-
Oven too cool → Bake hotter → Full preheat
Reading Your Dough
Under-fermented:
Tight, springy, dense → wait longerProperly fermented:
Puffy, airy, elastic → bakeOver-fermented:
Fragile, sagging → bake immediately, don’t warm
Quick Saves
Bake straight from fridge if unsure
Slightly under-proofed > over-proofed
Extra bun insurance is always smart - scale the recipe as needed!
substitutes & variations
Honey → sugar (18 g)
Butter → olive oil (40 g)
No potato water → plain warm water
Dairy-free → olive oil + skip butter brushing
Seeded tops → sesame + flaky salt
Garlic buns → garlic butter post-bake
Storage & reheating
Room temp:
Airtight, up to 2 days.
Freezer:
Slice first, freeze up to 2 months.
Reheat:
Toast cut side or warm at 170°C for 5–8 minutes.
Make-ahead plan:
Dough can be shaped and cold-proofed up to 24h. Bake fresh when needed.
Hosting Notes
T-24h
Mix, bulk rise, shape, refrigerate.
Day-of (morning)
Check proof level, keep cold.
T-1h
Bake, cool fully.
T-30m
Slice, butter-toast, assemble burgers.
Platter strategy:
Basket with towel for buns + sauce jars + pickles = effortless, intentional.
Estimated Nutrition (per bun)
Calories: ~245 kcal
Carbs: ~42 g
Protein: ~7 g
Fat: ~6 g
Assumptions: 8 buns total, 100% hydration starter.
AKS RECIPE CARD
Sourdough Potato Buns
Soft, shiny, elastic burger buns—made with sourdough + potato for the perfect smash-burger bite.
Ingredients
Dough
- 350 g bread flour
- 100 g mashed potato (boiled, drained, very smooth)
- 80 g sourdough starter (active, 100% hydration)
- 70–85 g warm potato cooking water or water (hold back 15 g; adjust)
- 20 g honey
- 1 large egg (~50 g, without shell)
- 45 g unsalted butter (softened, not melted)
- 7 g fine sea salt
- 3 g instant yeast (recommended for dinner-party reliability)
Egg Wash
- 1 egg
- 1 tsp water
Optional / To Serve
- Sesame seeds or everything seasoning
- Flaky salt (tiny pinch)
- Melted butter (to brush after baking for extra shine)
Method
- Boil potato; reserve cooking water. Mash smooth; weigh 100 g mash. Cool water to warm (30–35°C).
- Mix flour, potato, starter, honey, egg, salt, yeast + 70 g water until shaggy; rest 10 min.
- Knead 6–8 min (med-low) until smoother. Add softened butter in 3 additions; knead 6–10 min until elastic/near-windowpane.
- Bulk rise 60–120 min at ~24–27°C until puffy (~70–90% rise), not necessarily doubled.
- Divide into 8 (92–95 g). Pre-shape; rest 10 min. Shape tight balls; slightly flatten. Space on lined tray.
- Proof 45–90 min until very puffy; poke springs back slowly. (Overnight option: chill shaped buns 10–24h; don’t let lids touch.)
- Heat oven 190°C (180°C fan). Egg wash; top if using. Bake 18–20 min until deep golden (93–95°C internal if checked).
- Brush hot tops with a little melted butter. Cool 45 min before slicing; toast cut sides for smash burgers.
Quick Troubleshooting
- Buns are dense: Under-proofed—proof longer until puffy + slow-spring poke.
- Buns spread flat: Weak shaping or too wet—tighten surface tension; hold back water next time.
- Sides split: Under-proofed—extend final proof; don’t rush the poke test.
- Tops wrinkle/sag: Over-proofed—bake straight from fridge; reduce yeast next time.
- Pale tops: Oven too cool—full preheat; bake to deep golden (don’t pull early).
Storage
- Fridge: Avoid (dries buns). Store airtight at room temp up to 2 days.
- Freezer: Slice and freeze up to 2 months; thaw at room temp or toast from frozen.
- Reheat: Toast cut-side in butter or warm 5–8 min at 170°C to keep soft + bouncy.
Estimated nutrition (per bun): ~245 kcal • P 7 g • C 42 g • F 6 g (assumes 8 buns; 100% hydration starter; egg wash not fully consumed).